
Three vertical setups that beat leggy basil: a felt pocket wall, mason jars on a rail, and a wire rack with a real light plan.
The felt-pocket wall that stops root rot
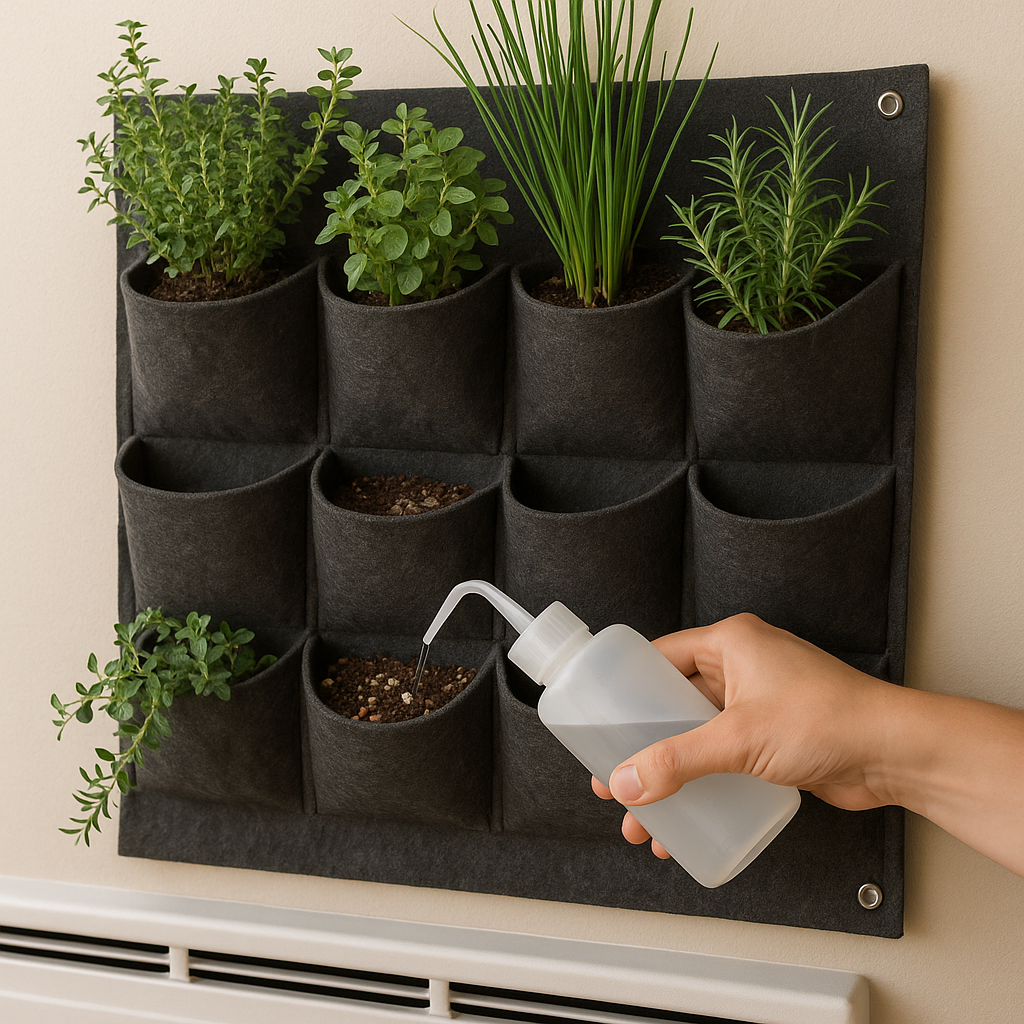
I like the look of those felt pocket planters, but the first time I hung one, I treated it like a regular pot turned sideways. Bad idea. Felt holds moisture longer than you think, and when you stack 12 pockets in a grid, the top row drains right into the row below. You end up with one pocket that is bone-dry (usually the top corner by the vent) and another that never stops being damp (usually the center where air doesn’t move). That’s how I lost a whole run of cilantro to mushy stems even though I was barely watering.
The fix is boring, but it works: think of each pocket as a tiny container that needs fast drainage and lots of air. I fill each pocket with a chunky, indoor-friendly mix, not straight potting soil. A simple combo is potting mix cut with perlite or pumice so it doesn’t compact. Then I line the very bottom of each pocket with a strip of plastic mesh or a bit of window screen so the mix doesn’t slump out while still letting water pass. When I water, I use a squeeze bottle or a narrow-spout watering can and I water each pocket individually, slowly, until I see a little drip, then I stop. No “soak the whole wall.”
Two details keep it from turning into a moldy craft project: (1) Leave a little air gap behind the felt by hanging it on hooks or a French cleat so it’s not pressed flat to the wall, and (2) put something washable underneath for the first month while you learn your rhythm. If you’re growing herbs, pick the ones that tolerate tighter quarters: thyme, oregano, chives, and trailing rosemary do better here than basil. Basil wants more root space and consistent light, which is why it’s the first to get sulky in a pocket wall.
Mason jars on a rail: the no-soil vertical herb line
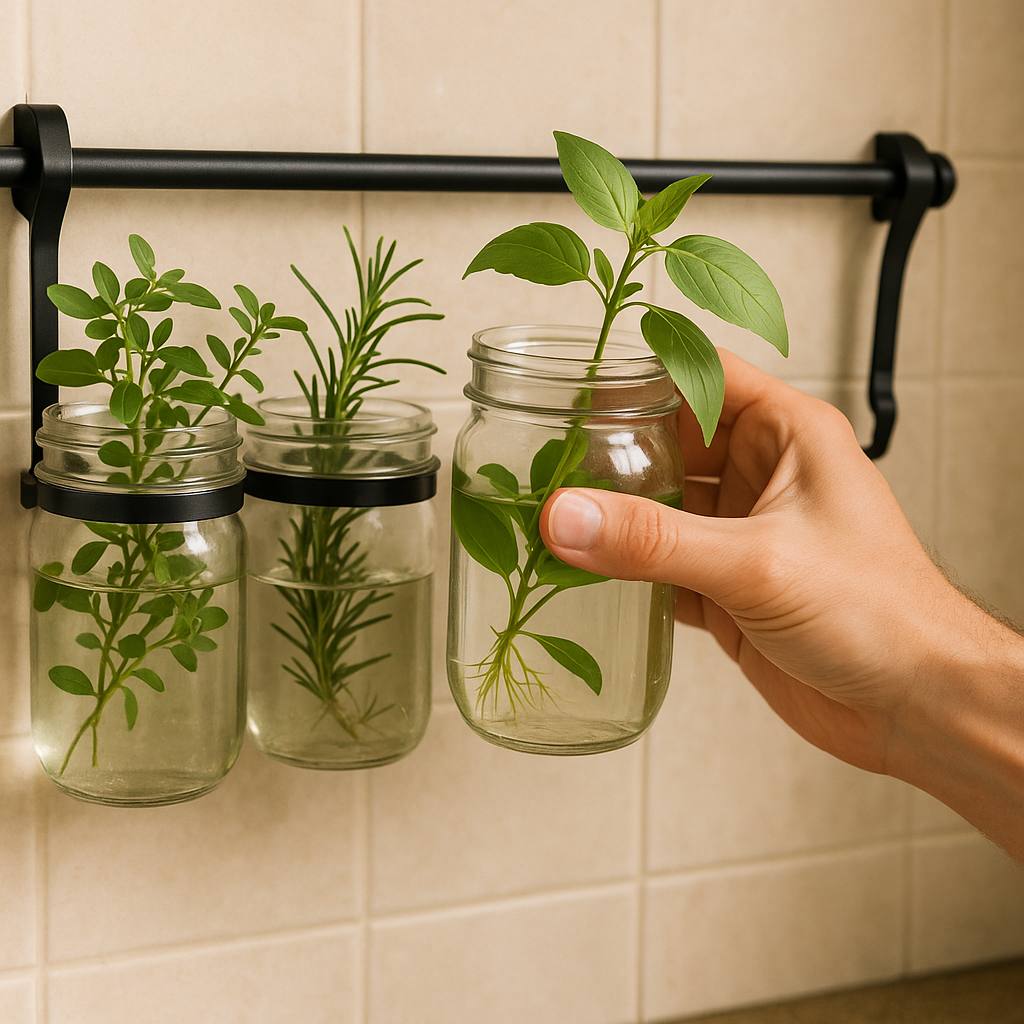
Here’s my contrarian take: if your indoor light is mediocre, stop forcing pot-grown herbs to pretend they’re on a patio. A vertical line of jars is the one setup that doesn’t punish you for missing the perfect moisture level, because there is no “moisture level.” There’s just water, and you can see it. I’ve done this on a kitchen wall with a simple rail and jar holders (the kind meant for storage) and it’s the only herb situation that didn’t turn into a guessing game.
Start with cuttings, not full plants. Basil, mint, oregano, and rosemary can all root in water, but basil and mint are the friendliest. Snip a 4 to 6 inch stem, strip leaves off the bottom half so nothing sits below the waterline, and drop it into a clean jar. If you’re doing a vertical rail, I like wide-mouth pint jars because they’re easy to scrub, and algae is the one thing that will creep up on you. Keep the water level high enough to cover the nodes (the bumps where leaves came off), but not so high that any leaf is submerged.
Light matters, but not in the way people assume. A bright window can still give you lanky growth if the plant only gets a couple of strong hours and then spends the rest of the day in dim room light. If you’re not adding a grow light, put the rail where it gets steady daytime brightness, not just dramatic sun for a short window. If you are adding a light, mount it above the rail so each jar gets similar intensity. And yes, you do need plant food eventually. Plain water will keep cuttings alive for a while, but once you see a small root bundle forming, add a hydroponic nutrient at the label’s dilution. Don’t wing it with random fertilizer; a concentrated mix in a small jar is how you scorch roots fast.
Maintenance is simple and a little fussy in a good way: rinse and refill every 5 to 7 days, wipe the inside if you see a green film starting, and keep the jar holders tight so you’re not bumping glass every time you reach for a spatula. The payoff is that you’ll notice problems early. A sour smell, slimy roots, cloudy water. You dump it, wash it, restart. No mystery diagnosis, no fungus gnat drama, and it looks sharp on the wall.
A wire rack grow tower with lights you can adjust
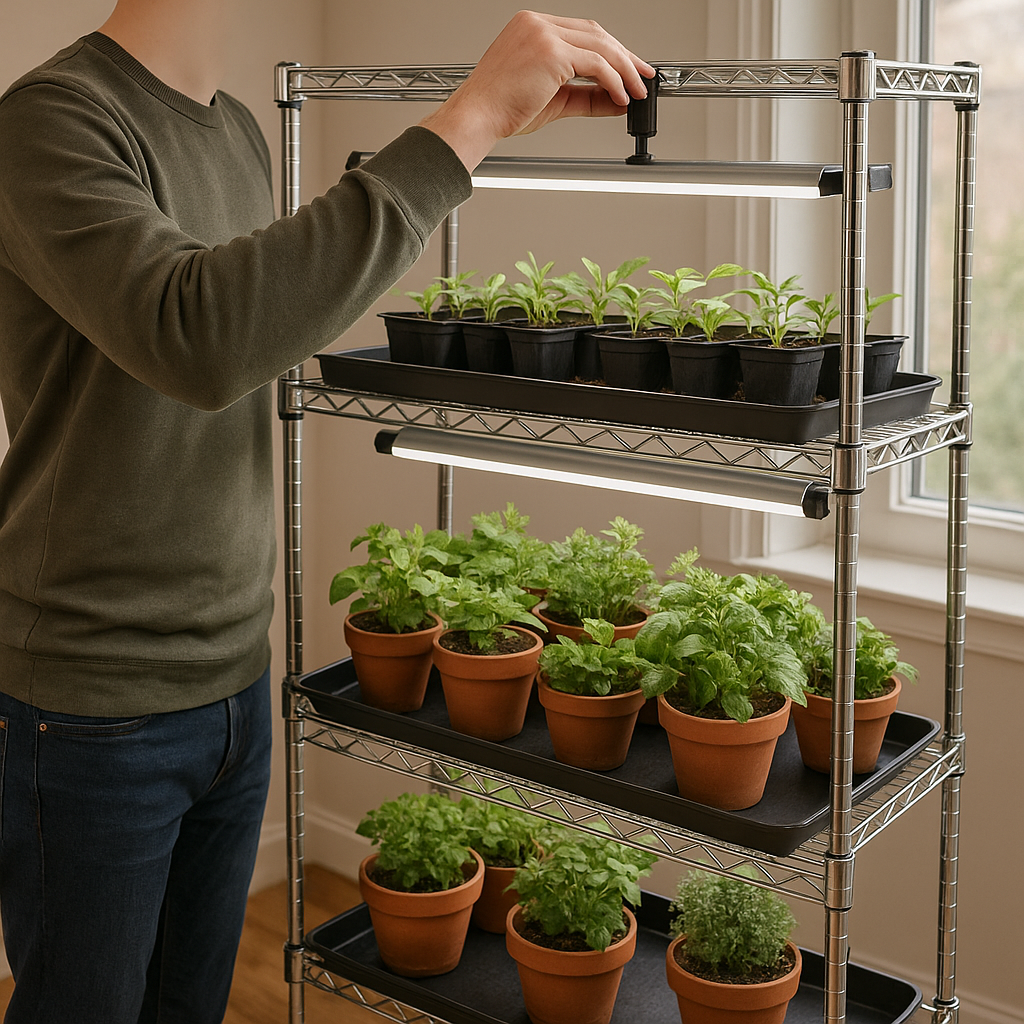
If you’ve been trying to do indoor vertical gardening by stacking pots on a bookcase or hanging macrame in the one sunny corner, a wire shelving rack feels like admitting defeat. I get it. It’s utilitarian. But it’s also the first setup I’ve used where I could fix issues in minutes: raise a light, lower a shelf, rotate trays, and keep everything contained when watering. That’s the whole point of going vertical inside. Control the environment instead of hoping the window behaves.
The rack version I like is a standard chrome wire shelf (the kind people store pantry stuff on) with adjustable shelves. On each level, I run a slim LED grow light bar and plug it into a timer. Not a smart-home saga, just a timer that turns on and off the same way every day. I keep the lights close to the plant tops and adjust upward as they grow. If the stems stretch and flop, the light is too far away or not strong enough. If leaves pale or curl at the edges, I back the light off and watch for a couple of days. You can’t do that kind of tweaking when your “system” is a windowsill plus hope.
Here’s how I set it up so it doesn’t become a leaky mess. Each shelf gets a rigid tray underneath the pots. A boot tray works. So does a plant saucer tray that spans most of the shelf. When I water, I pull each pot out, water it in the sink, let it drain for a minute, then put it back. If I’m feeling lazy and water in place, I do it with a narrow spout and I don’t flood the tray. Standing water under a rack is where you get that damp basement smell, even in a clean house.
What grows well on a rack tower? Leafy herbs, compact peppers, microgreens, lettuce, and small houseplants you’re rehabbing. I’ve also started seedlings here in cell trays and then moved them out when they’re sturdy. The vertical part is the point: top shelf for cuttings and tiny starts that want gentler light, middle shelves for herbs, bottom shelf for heavier pots and supplies. And because the whole thing is on casters if you choose that style, you can roll it away from a drafty door or closer to an outlet without redesigning your kitchen.