
A few practical layout changes can reduce stray light, soften household noise, and make middle-of-the-night diaper changes less disruptive.
Blackout placement beats blackout strength
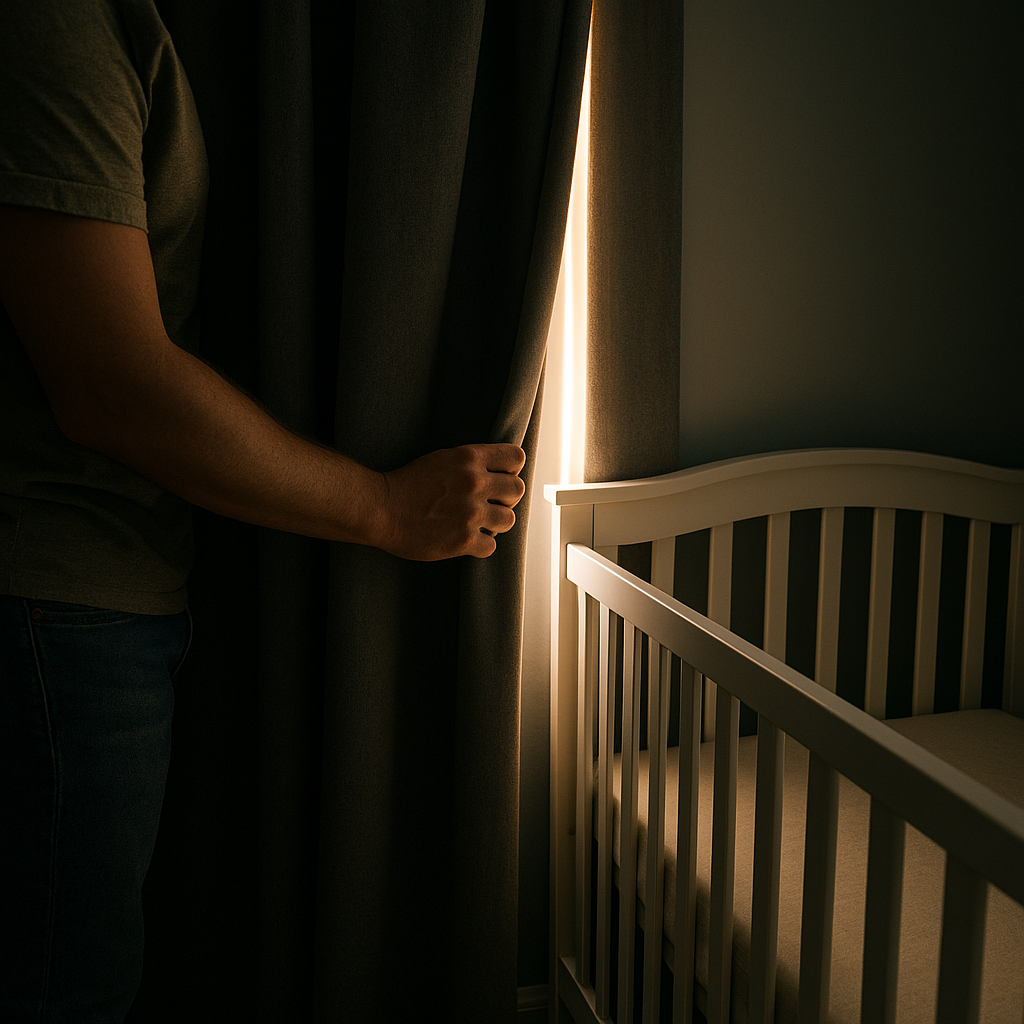
I learned this the hard way during those 4:45 a.m. summer wake-ups when the room looked dark until you stood next to the crib. The problem wasn't the fabric. It was the geometry. If the curtain rod sits tight to the trim, you get two bright “laser lines” down the sides, plus that top gap where sunrise sneaks in and lands right on the mattress like a spotlight.
My fix was boring, but it worked: I mounted the rod higher than the window and extended it past both sides so the panels covered the edges more completely. If you can't or don't want to drill new holes, a tension rod inside the frame plus a second rod above it can help, but the goal stays the same: overlap. The panels need to cover the window edges, not just hang in front of them.
Then I did the most unglamorous test in the house: I turned on the hallway light at night and shut the nursery door. Any light that makes it past the curtain and into the room will show up fast. Pay attention to where it hits. If it lands at crib level, that is the whole ballgame. I secured the blackout curtains so they stayed fully outside the crib's reach. The American Academy of Pediatrics recommends keeping cribs away from windows, while the CPSC advises using cordless window coverings around young children and keeping cribs away from window coverings and cords. Any blackout setup should keep curtains, cords, and hardware well beyond a baby's reach.
One more detail that mattered: night-lights. A poorly positioned night-light can make light leaks and reflective surfaces more noticeable, so I moved our dim amber light away from the crib and aimed it toward the wall.
The crib doesn't belong on the noisiest wall
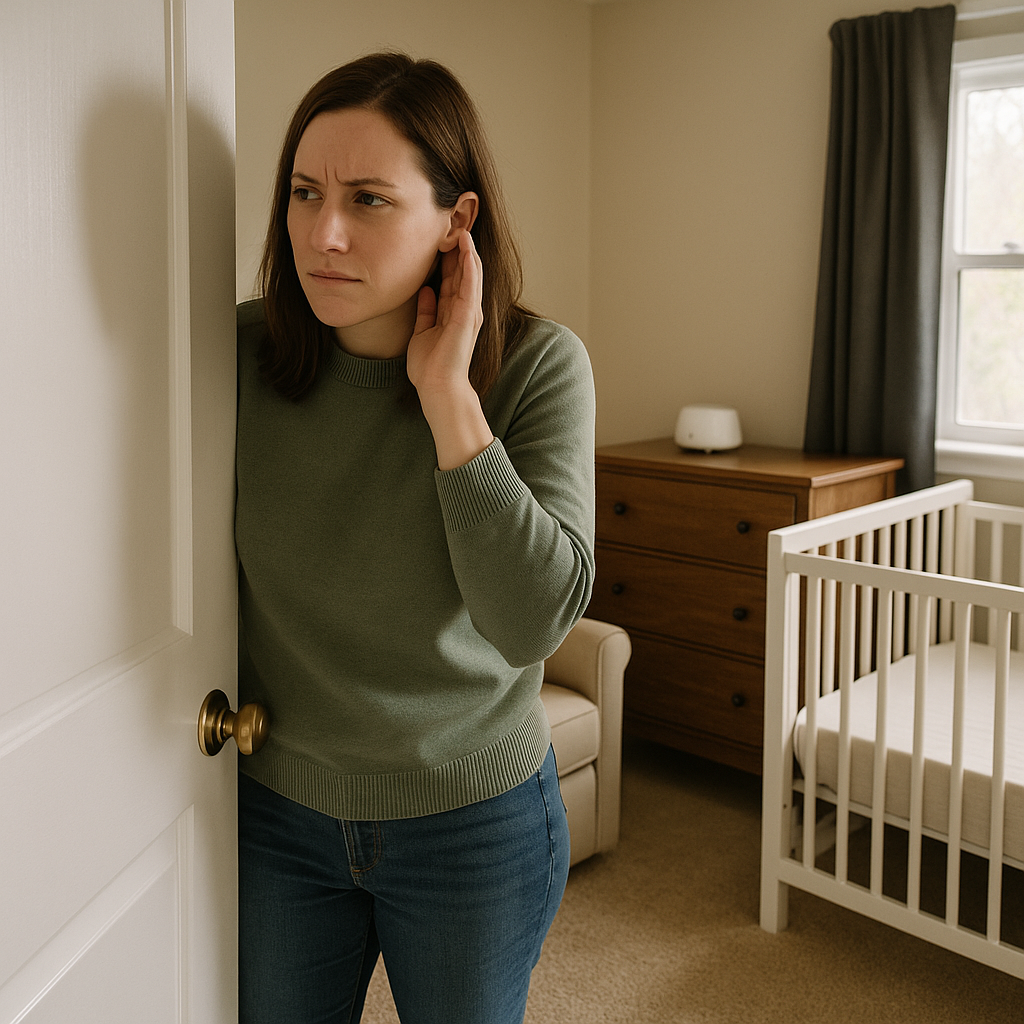
Most nurseries end up arranged like a showroom: crib on the long wall, dresser on the other, chair by the window. In a real house, the long wall is often the shared wall. It's the one backing up to a bathroom flush, the living room TV, or the stairwell where shoes thump at the exact moment the baby finally goes down.
Instead of thinking, “Where does the crib look nice?” I started thinking, “Where does sound travel?” Here is the quick way I map it: stand in the nursery with the door closed and have your partner do three normal things outside the room, not exaggerated ones. Run the sink for 10 seconds, walk up the stairs, and open and close the hallway linen closet. You will usually notice which side of the room carries those sounds most clearly.
If you have any flexibility, put the crib on the quietest interior wall, not the wall shared with plumbing. If every wall is shared, I put as much practical distance as possible between the crib and the loudest wall while keeping nearby furniture safely out of reach. I wouldn't rely on furniture as meaningful soundproofing, but putting more distance between the crib and a noisy shared wall may make some household sounds less noticeable, depending on the room and building construction.
Door noise is its own thing. If the crib sits in the direct line of sight with the doorway, every time you crack the door for a check, you're sending a stripe of light and a wave of hallway sound straight at the sleeping face. I like the crib positioned so you can enter and get to the changing station without walking past the head of the crib. That one little “traffic pattern” change cut down on the accidental floorboard squeaks right next to the mattress.
White noise also needs careful placement and volume control. If you use a white-noise machine, keep it as far from the baby's head as practical, use the lowest effective volume, and limit how long it runs.
A diaper-change zone that doesn't wake the whole room
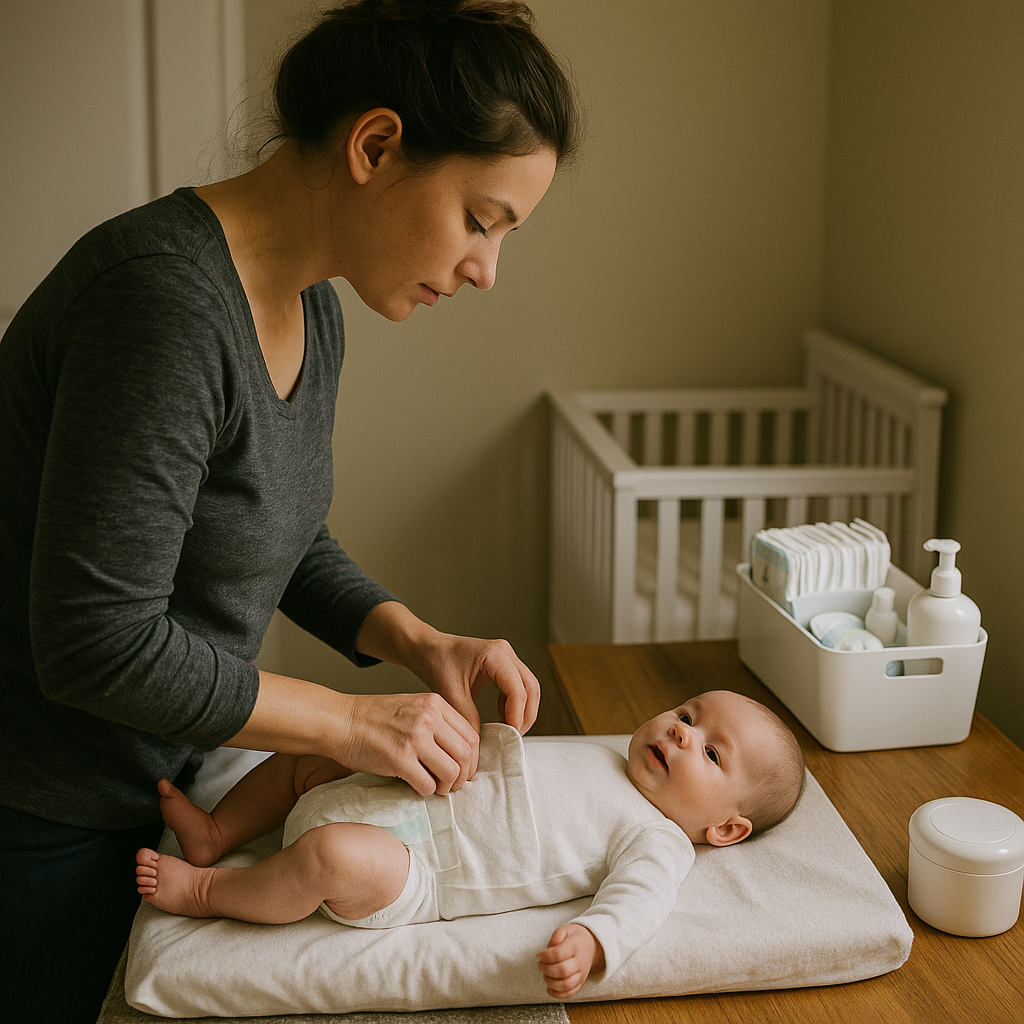
The easiest nighttime diaper changes I've handled were in rooms where everything needed was within easy reach. Layout is what makes that possible. When the changing pad is across the room from the diapers, or the wipes are in a drawer that sticks, or the diaper pail lid slams, the whole room wakes up in stages. First, the adult. Then the baby. Then everyone else, because now you're whispering loudly in the hallway like a cartoon burglar.
I grouped the changing surface, supplies, and diaper pail together so I could reach everything without moving around the room. The surface can be a sturdy dresser-top changing pad or changing table, with supplies within the adult's reach but out of the baby's reach. I always keep a hand on the baby during changes. For supplies, I stopped using deep drawers at night. Drawers are loud, and you have to look for things. A small caddy on top of the dresser is faster and doesn't require a light show. Mine holds diapers, wipes, a tube of diaper cream, and two spare onesies. That's it. If you add a dozen products, you'll rummage, and rummaging is loud.
For disposal, I avoid anything with a hard snap lid right next to the crib. If you're using a Diaper Genie-style pail, put it on the far side of the changing station, not behind your feet, where you'll bump it. And if the pail has that swing lid that likes to clap shut, a simple felt furniture pad placed where the lid contacts the plastic takes the slap out of it. I also added felt pads beneath any caddy or basket that scraped against the dresser.
Two layout details people skip: a rug and a chair. A washable rug can soften footsteps and reduce some impact noise from small dropped objects. A nearby chair can also reduce unnecessary trips across the room, provided it stays well away from the crib. I keep a muslin burp cloth draped over the chair arm because spit-up doesn't wait for daylight.